
")


MINIBOT with Ardublock
18 Nov

Posted By
0 Comment(s)
5293 View(s)
Update: 2020-11-18 20:50:53
Demo Video
On this tutorial titled Minibot with Ardublock, we created this blocks for kids who wants to experience robotics in easy and fun way of coding in Arduino using Ardublock.
Even though they don't need to learn the C++ or typing the lines of codes on each motor pin used in gizDuino boards/motor driver, connection of line sensors , IR proximity and distance sensor.
Through this blog tutorial they can upload the code by just selecting the Minibot block category and its blocks (such as the Motor Direction, Motor Speed, Motor Forward, Backward, Turn Left and Turn Right and Stop) and other sensors such as line sensors, IR proximity and Distance sensor but on the next updates of this blog. So, just stay tune.
For Ardublock installer click here! and MINIBOT variants product page here.
Let's get started with controlling motors
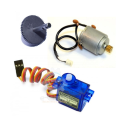
The Motors
Pin assignment for motors are D8(m1dir),D9(m1pwm),D10(m2pwm),D11(m2dir).
Forward
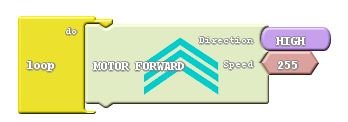
By using this block, you can easily controls both motor in Forward direction. HIGH means the direction state is 1 for forward direction and 255 is the maximum speed.
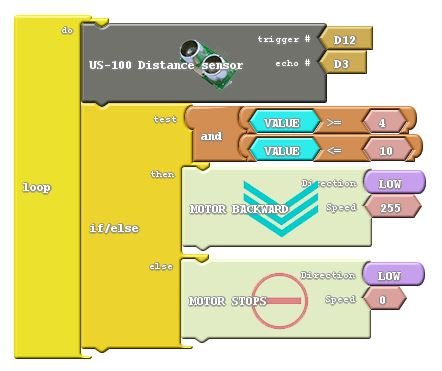
Backward
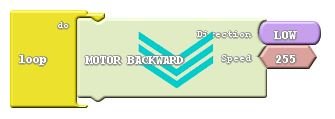
Now both motor moving in reverse direction. Because LOW means the direction state is 0 for Backward direction and 255 is the maximum speed.
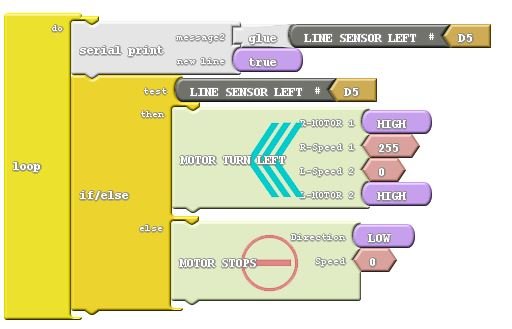
Turn Left
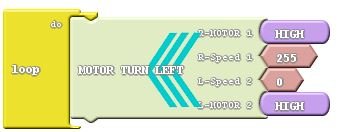
On this block one motor (left) does not working or moving, because the speed is 0 means stop or no speed whilst the right motor is in maximum speed. That is why the robot turns left.
Turn Right
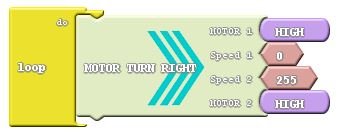
On the other hand, turning to right direction you need to stop the speed of right motor and left motor activated to turn to the right direction.
Motor Stops
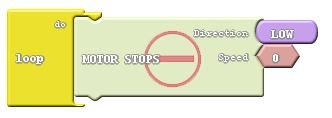
Use this block to stop the motors in running.
Line sensor
Pin assignment for Line sensors are D5(left),D6(center),D7(right). For Black colored line detected the output is 1 or HIGH, and LOW or 0 for white color.
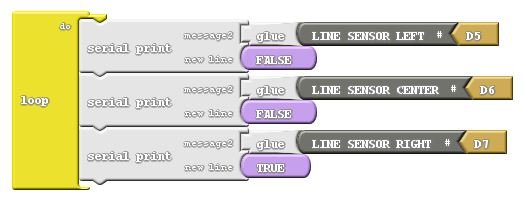
For line sensor, the blocks show you how to get the digital output of 3 ch line sensors using serial print to display it on the serial monitor. Once you upload this block and Open the Serial monitor you can see all sensors output is 1 or HIGH, but if you block some object into it the output must be changed. The purpose of this is to check the line sensor output and make sure it is working then use the left,center and right sensor for application.
The blocks:
IR Proximity sensor
Pin assignment for IR proximity sensor is D3 (Output)
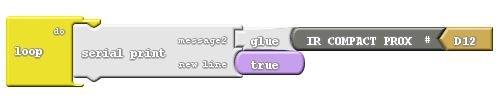
For Minibot with IR proximity sensor, you can use this block. Again for beginners you need to test or try it first the sensors one by one to get some idea on how the sensor works. Keep in mind that if you are using line sensor, ir proximity or other sensor with digital Output the output is always binary number either 1 or 0 depending on the sensors. It is not giving you random numbers. So those sensor are easy to use.
<[Video will upload soon]>
Distance sensor
Pin assignment for Distance sensor D12(Trig),D4(Echo)
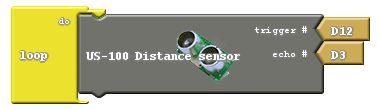
For Distance sensor here's the block to use. On this kind of sensor it will give you distances in centimetre conversion, because it uses sound to determine how far the object in front of it. Open the Serial monitor to see the output.
The Blocks:
For comments and suggestions please do not hesitate to contact us.
Leave a Comment